Introduction
 Recently I was involved in a consulting project for a customer who had an interesting debacle. They had a Salesforce.com VF based customer portal and they wanted to provide links to both Published Applications and other SaaS\Web applications within a “Quick Links” window on the home page of portal.
Initially the developers thought they would just use a SQL provisioning database to store user data and create custom roles within as a means to determine what application links to display to the end users and planned to just use different iFrames within the quicklinks area to pull everything together.
But I explained to them that this approach may be problematic for several reasons.
- Loading elements in different iFrames would have different render times and depending on the application and content you were pulling in. This might result in a staggered render in the end-user browser if you were not masking this behavior through some other means like a progress bar or spinney thingy to distract them or at least give he illusion that something coherent was going on in the background.
- HTTP 302 Redirects are often other artifacts of multi-faceted web applications which can also cause “flickering” or “jumpy” rendering within a page iFrame / code block.
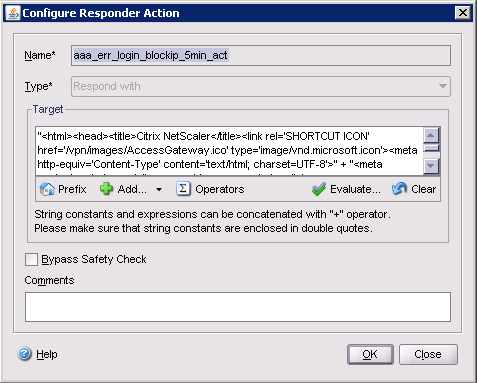
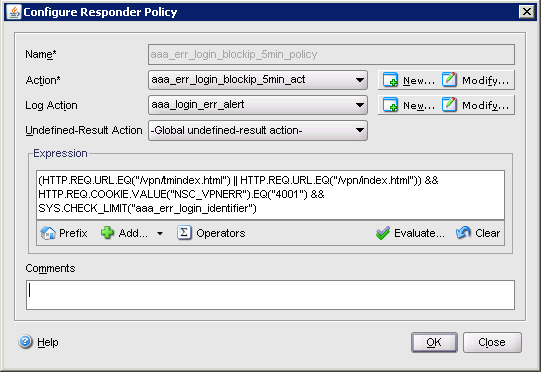
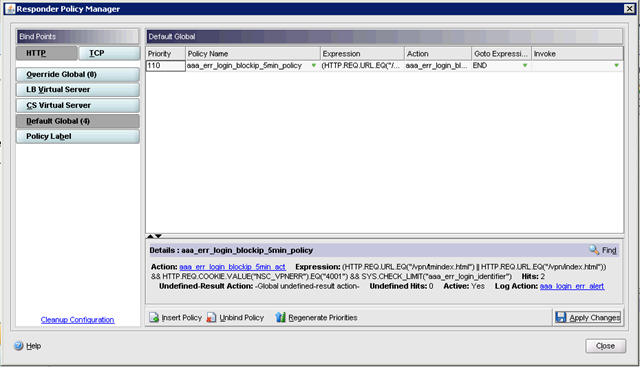
A seldom used often forgotten feature of Citrix XenApp that has been there for ions is the ability to Publish not an application but Content. This content can simply be a link to another web application or actual content such as a document. This content is not accessed through the means of a Citrix XenApp ICA session but directly by the client. There are numerous benefits to this approach of consolidation.
- All Application links can be managed in one place through AppCenter instead of multiple role based data stores.
- Application link visibility can be controlled by AD Group Membership which can be based on existing groups or new Groups created with roles in mind.
- All of the available XenApp filtering and possibly “Smart Access” policies are at your disposal to add another layer of control.
- When you add applications in XenApp, you can specify the icon for the application you desire to display to the end user. If you are adding a Web Content application, XenApp will actually automatically check to see if the application has a favicon and use that by default or you can manually choose one in .ico format.
So then the question becomes – Do you use Web Interface (WI) or the Web Interface SDK or cobble together your own UI using nFuse calls? Well this article and approach leverages Option 1 as I felt this was the best path given that there are many ancillary tasks that Web Interface handles and manages out of the box that you would have to deal with that are not really even related to the portal integration but affect the overall usability and function – things like Client Deployment, Workspace Control settings, Client Address Modes, Farm settings, etc… Many of these are parameters that might change during the lifecycle of an application and thus having a standard management tool to deal with them will make the overall solution management less involved.
The following steps strip-down Web Interface such that it will transparently look like a part of the portal you are embedding it into. The steps are broken down into actual content customizations and configuration options.
Content Customizations
Here is the good news – when web interface was being integrated into Access Gateway Advanced edition NAV UI, a lot of work was actually done to make the UI portal friendly. Since we are not using the Access Gateway NAV UI, we have to fool the WI logic into thinking you are. Once this is accomplished, the rest of the customization steps are mainly for cosmetic and functional reasons.
| Customization | Details |
| To make WI think it will be embedded into the NAV UI (required) | Comment-out or remove line 124 of [Site-Name]\app_code\PagesJava\com\citrix\wi\pageutils\AGEUtilities.java and replace with true condition:
public static boolean isAGEEmbeddedMode(WIContext wiContext) { return getAGEAccessMode(wiContext) == AGEAccessMode.EMBEDDED; becomes: public static boolean isAGEEmbeddedMode(WIContext wiContext) { return true; } and comment-out or remove line 132 of \app_code\PagesJava\com\citrix\wi\pageutils\AGEUtilities.java\AGEUtilities.java public static boolean isAGEEmbeddedOrIndirectMode(WIContext wiContext) { AGEAccessMode mode = getAGEAccessMode(wiContext); return (mode == AGEAccessMode.EMBEDDED) || (mode == AGEAccessMode.INDIRECT); becomes: public static boolean isAGEEmbeddedOrIndirectMode(WIContext wiContext) { AGEAccessMode mode = getAGEAccessMode(wiContext); return true; } |
| To remove the Folder menu tabs and Main header (optional) |
Remove or Comment out line 13 of [Site-Name]\app_data\include\compactResourceListTabTools.inc |
| To remove the search pane (optional) |
Remove or comment-out line 132 [Site-Name]\app_code\PagesJava\com\citrix\wi\pages\StandardLayout.java // navControl.setShowMessages(true); |
| To override the Workspace Control settings (optional) |
Remove the !AGEUtilities.isAGEEmbeddedOrIndirectMode(wiContext)) condition on Line 1078 of [Site-Name]\app_code\PagesJava\com\citrix\wi\pageutils\include.java |
| To remove the horizontal lines below the application icons (optional) |
Remove the border style elements on lines 565 and 860 in [Site-Name]\app_code\PagesJava\com\citrix\wi\pageutils\lowStyle.inc: #searchPane and #wscOptions |
| To display icons and not the list view in the Applications pane (optional) | In [Site-Name]\app_code\PagesJava\com\citrix\wi\tabs\ResourcesTab.java using notepad and search for "CompactView". At the end of the line, remove "LIST" and replace with "ICONS". |
Once you complete the above steps, reset IIS, close your browser, and log back in. Your WI should look something like the following:

Required Web Interface Configuration Settings
Ok so there are other options that must be enabled in the actual configuration to make for the best end user experience.
| Configuration Option | Recommendation | Details |
| Client Detection | Disable | I opted to disable this as this particular company already had a plan in place with their care team who were responsible for making sure the end users had the necessary hardware, software, and connectivity required to access the environment and during this process the desired Citrix client version (12.3 Online Plug-In) was going to be installed. When you enable Client Detection and optionally Deployment, there is quite an involved process that WI goes through to glean information about the end user device and whether they have a suitable ICA client installed. This involves many redirects and popups and these kinds of behaviors are not really suitable for a portal environment. A static link to a download would be a better option or you can put in place a customer process which takes care of this aspect. |
| Client Deployment | Native | While the Java ICA client is considered to be “zero footprint”, there are really more hurdles than you think to get that working properly. For one, Java is notorious for being persnickety about SSL. The newer versions even with the Windows Keystore option still have numerous issues with SSL certificates that are chained which almost all current CAs provide now. This means that you have to manually import certificates into the Java Keystore or use CLI cmds and this is hardly zero footprint. In addition, there is a Kludge pop-up window that also has to be there during the session to maintain the session. What I recommend doing here is just to use the Native client. Citrix has clients for virtually every device OS out there and these will run better natively than using java as a band-aid. Recently Citrix has come out with an HTML 5 client (announced at Synergy San Francisco in Nay 2012) which looks to be a lot more promising in terms of a zero foot print client. This client uses HTML 5 web sockets method which is now supported by Mozilla FF an Chrome and will be supported by IE 10 in Windows 8. |
| Session Settings |
General > User Customizations |
This prevents any client side settings from being saved to a Cookie Value and also prevents users from changing the settings. This is more desirable for “no foot print” scenarios and keeps it consistent in the portal. |
Acknowledgements
A big shout out to Mike Bednarek in Citrix SW Dev who was one of the main guys involved in the development of Web Interface over the years and knows this product better than most. I relied heavily on his knowledge of all the moving parts to tweak the UI.


 Posted by Bellihammer


